So I am not the BEST DIY’R….as time has gone by, I have seen so many great and inspiring things as an Interior Designer that I think “hey, I could do that and for a lot less”…Unfortunately, I have zero patience, so I either start a project ( go straight to Home Depot, buy ALL the boards, pick out the perfect paint….fast forward 5 yrs later…paint still sitting in basement with boards stacked next to it..sigh) or, I try it, and I fail miserably!! SO when I saw this little project on “How About Orange” I thought, “This is so cute, and wouldn’t it be adorable if I took all of the extra photos I have laying around of my family, and made them into magnets for Liam”!!
In short, doing the photo magnets WAS TERRIBLE!!! the ink ran, the pictures curled, and the self adhesive magnets did not adhere…I was so disappointed, but I thought, lets try it again…because of my above mentioned lack of patience, I cut the pics by hand ( a rookie DIY’R no, no..always use a straight edge people!!) so I was looking in my junk drawer for my straight edge to begin this project again, when I saw all of our Match boxes that my husband and I are OBSESSED with collecting…by the way, funny side story, for whatever reason, even though match boxes are FREE at every restaurant that you go to, my husband and I think we are being sneaky when we EACH take a matchbox as we leave, thinking in some weird way HA! we duped you ( WOW and who uses the word duped??) we have 2 FREE matchboxes!! ahhhhhh..anyway moving on…I thought HOW CUTE would these be as magnets!!! SO take a look at how my photo magnet project turned into my awesome match box magnet project ( PS…and because we have two of almost every match box, I wasn’t afraid to dive in!)


First, I found a few of my favorite matchbox/toothpicks and made sure we had doubles, just in case this turned into a disaster!

Next I traced each one on cardboard ( just a little tip for those of you that might want to try, I would use black foam core board next time, just for a little more height) and glued it to the back of each matchbox.


I used Ink Essentials, Glossy accent dimensional glue ( Michael’s $6.99) to cover each matchbox, starting around the edges, and then filling in the center, the added a strip of self adhesive magnet to ea back..
(whole role $4.99 at Michael’s)
(whole role $4.99 at Michael’s)

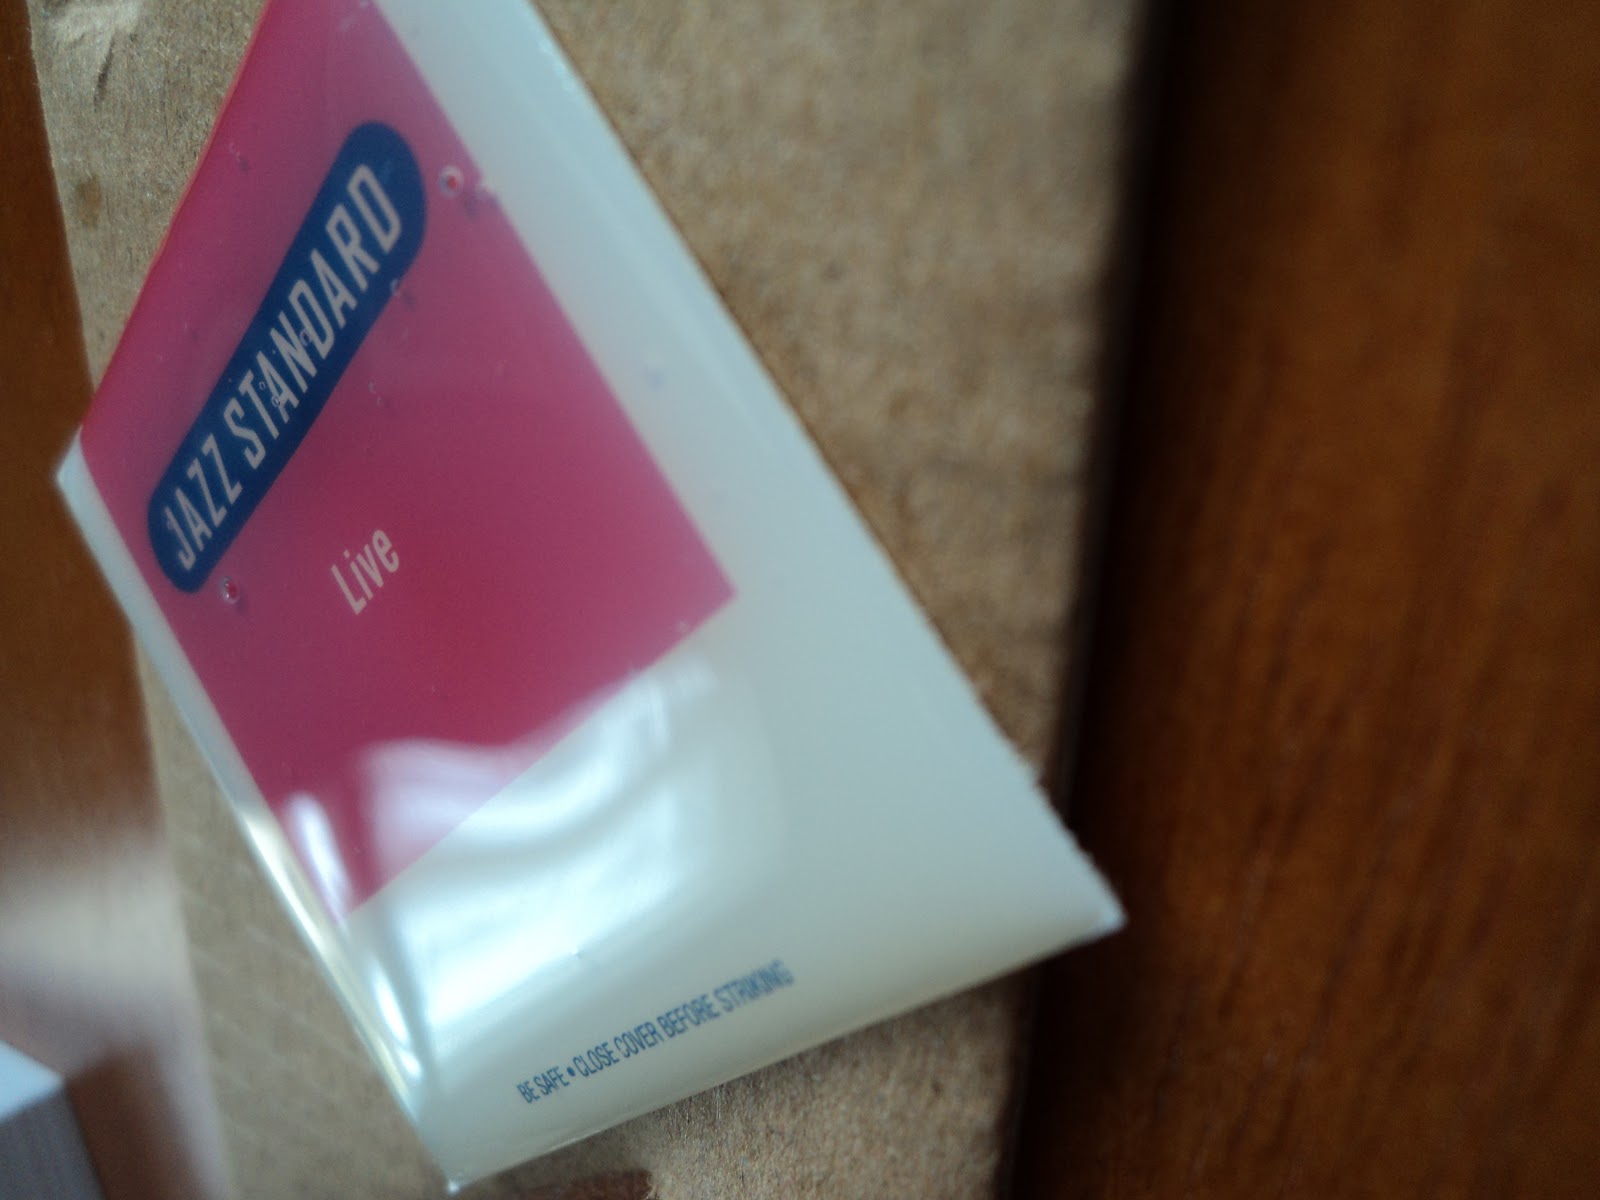
Can you see the raised Glossy film, I think the Jazz Standard is hard to see, so I took Elvis outside for a little better light?? SO exciting! Here is the worst part of this hole project…The bottle of dimensional glue says it need 1/2 hour to 24 hours to dry…..now deep in my DIY-R soul, I know these little babies need the full 24 hours, because I used a ton. BUT because, as I mentioned above, I have ZERO patience ( although I am working on it) I grabbed one of the tiny matchbox jewels and slapped that puppy on my fridge to see what it was going to look like!!! AND I LOVE IT!!!!!!!!!! This one was the least wet, but the others are still far from dry…I can’t wait to see them all together!!
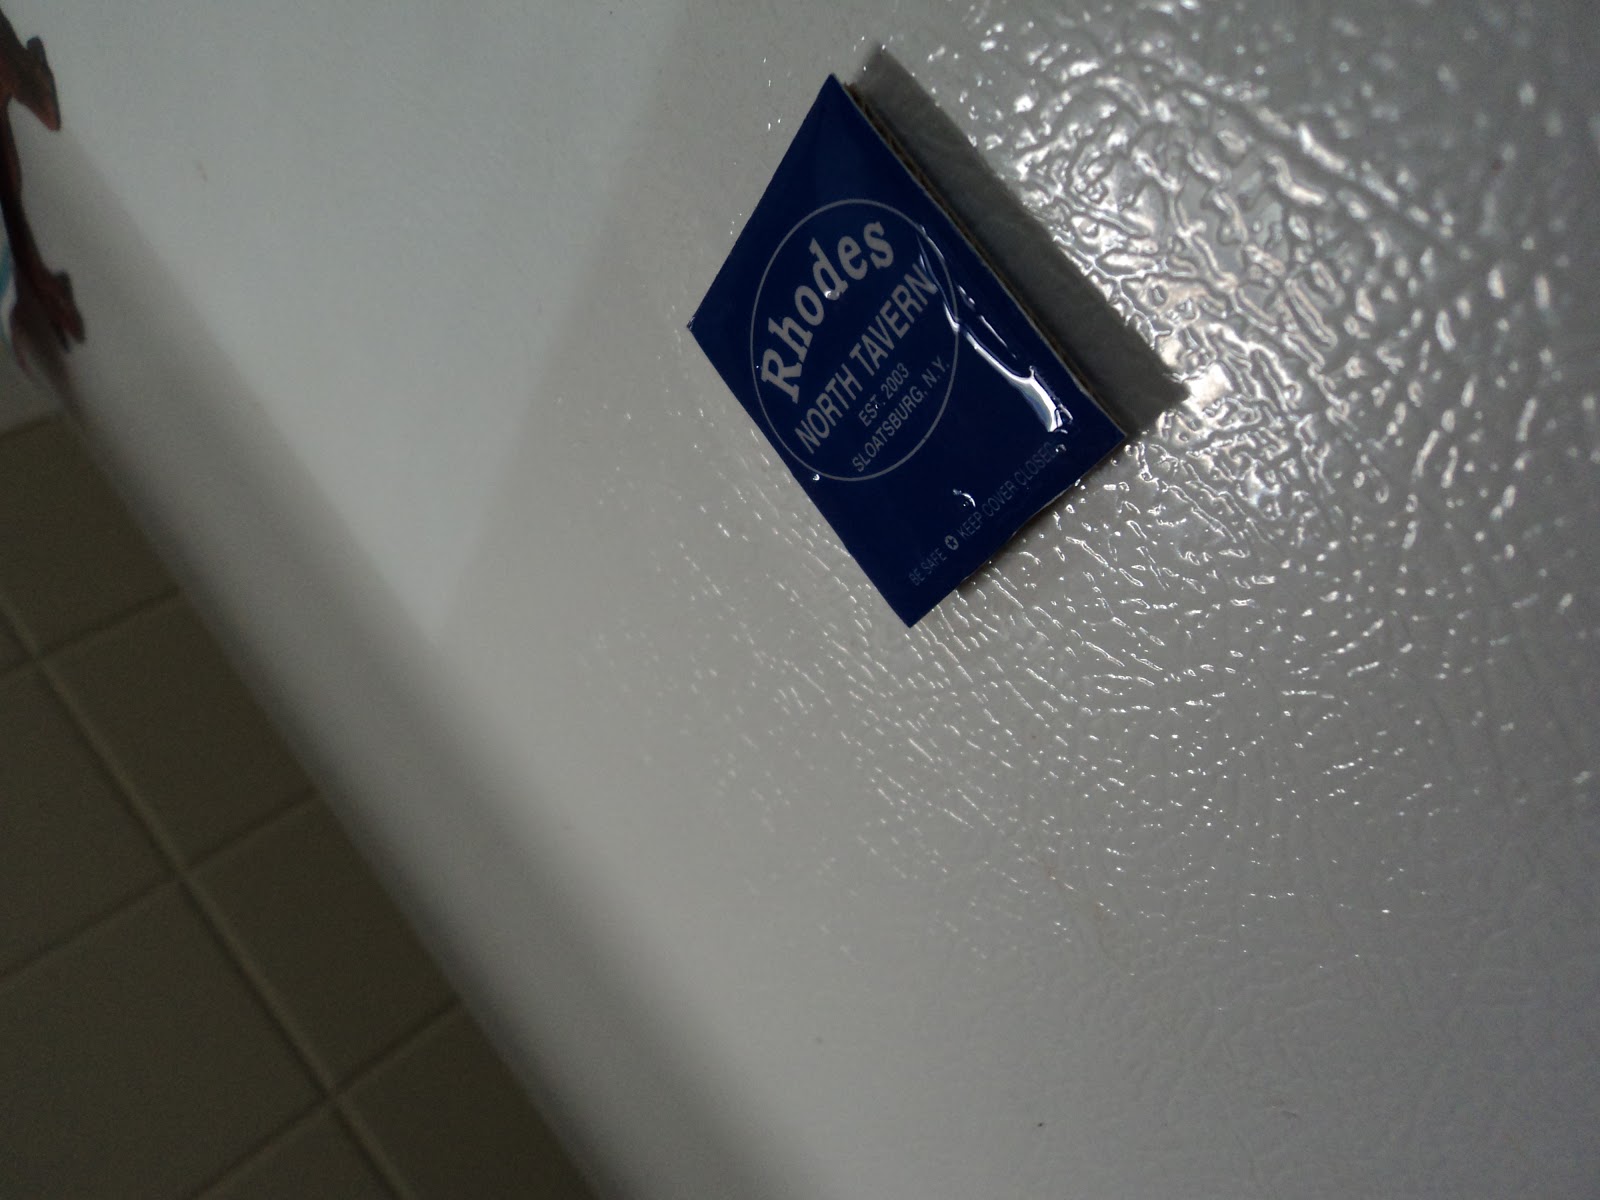
I’m so excited that this fun project worked out!! and now when we look at our fridge, we will see little reminders of great nights/days/lunches/drinks we shared with family and friends!!
To see the complete set of 4, check my facebook page tomorrow night at
See, I told you I was working on it..I am going to allow the other 3 to dry properly 😉
Let me know if any of you try this little project! I would love to see finished results!!
~K
Great idea Kim! I love it! Makes me want to start collecting matchbooks! 🙂