• Home
  • About
  • Services
  • Blog
  • Connect

Design Thoughts STUDIO

Connected Living

Baby, DIY, DIY baby Shower, Shower

A DIY baby Shower: Red, Blue and Grey

July 8, 2013 Comments : 2

Hi Everyone!! WHEW what a busy few weeks it has been around the Salter home!!

*Beware of SUPER long Post!*

about 5 weeks ago, I offered to throw a baby shower ( or sprinkle) for my friend “S” and the arrival of her second baby, A baby boy….the kicker…he was due in 2 weeks..I decided what the heck, lets celebrate this beautiful little soul!! He was Due June 22nd, I started planning right away ( about June 1st maybe) we decided on June 15th as the perfect Saturday! All details were complete, then, sweet baby “W” decided to join us a week EARLY!!! We postponed the baby shower and just had it 2 weekends ago..it was great, everyone got to celebrate this sweet baby boy, AND meet him!! Here is what I did for this QUICK DIY baby Shower using Grey, Red and Blue!!

I started by finding a fabric from JoAnns that would be the base of the color scheme! I knew the baby’s nursery was blue, grey and red. I found a sweet grey Polka Dot for the table!!!

How To Make a Flag Banner

I knew I didn’t have a ton of time, so I had to get creative ( Yay!)! Here is how I made a Sweet little flag banner!!

Here is what you will need:

  • Choose 12 sheets of appropriate colored scrap booking paper, mixing solids and pattern.
  • Use a ruler to draw a triangle on the back of the sheets of paper! ( I was able to fit 3 flag on each sheet)
  • Use a hole punch to punch 2 holes in the top middle of each “flag”
  • Use Twine or Ribbon to string them together ( I used Bakers Twine)   

I also picked up (2) of these large paper Stars from JoAnns on clearance for $2.99 Each!
How to Make an Advice tree:

I searched Pinterest for quick ideas for A baby shower, and one of the ideas I loved, was an “advice tree! I really love having guests write words of encouragement or love for the parents to read!
I decided on rockets for baby W, and made my own cards, using watercolor paper and paint. 
Here is what you will need.
Water color paper if using paints, use Card Stock if using markers…I love watercolor, so that’s what I chose.
  • A round template to trace onto the paper, I used (2) different sized cups so I could create a border, then I drew the rockets free hand.
  • Hole punch for the hole at the top
  • Twine or ribbon to hang from “Tree”
  • Large branched with lots of small branches to hang cards from
  • Vase filled with rocks to hold branches.
I just free hand drew the rockets using black waterproof fine tip markers.

I wanted to be sure to document all of the guests that were coming to celebrate this precious little babe, so I decided to set up a photo area in the back of our yard which is lined with greenery. I bought a “Photo Kit” from Target on clearance for $7.99 and it included a mustache on a stick, a fun pair of glasses on a stick along with (2) chalkboard signs! As the guest arrived, I walked them back to where I had everything set up. I LOVED watching the families laughing and joking as each of them picked what they wanted to use..here are a few of them 😉
Photos Of Guests!!
Grants best friend and his wife…

Us with our little “Princess” Liam 😉

The happy family with sweet baby “W” and their daughter “O”!!
It was so nice to be able to look through the photos and see who came!! I’m in the process of making them in to a photo album for Mama “S”

How To Make A Cake Topper!
Lets talk about Cake! 
There were a total of 22 people invited, so I decided to do (1) cake and 24 cupcakes! I decided not to order from a bakery, and went ahead and baked them myself using good ole Betty Crocker 😉 I did a white dbl layer cake with blue frosting in the middle, and grey sprinkles. The cupcakes were also white with Grey Sprinkles and a red hot topper. To top the cake, I made my own decorative piece! It was So easy and literally took 5 minutes!
Here is What you will need:

  • Paper Straws. I got mine at Michael’s  $6 for 24
  • Bakers Twine
  • Flag Stickers. I got mine at Michael’s for $4.99
Materials:

Step One:
Tie Twine to Straws

Step two:
Add Stickers to Twine. I have no photo for this, but you understand.

Step Three:
Add to cake!!

Cupcakes!
Other Quick Tips :
1. Cut Paper Lunch Sacks, add Washi Tape, Add Different Chips for guests to pick from so they can walk around with the bags! 
2. Use Mason Jars, drill hole in top and add a paper Straw for a nice detail. Each guest can take one home with them.
3. Use Color Coordinating sodas, to add an extra detail!! I used “Jones Soda” in  Blue and Red, and it added that extra pop of color and a little extra detail to the party!!
Here are some More Photos!! Please comment if you have any questions!! It was really east to pull together, and it cost under $300!!!!! 

It turned out to be a beautiful day!! So grateful to have good friends here in Nashville!!!
~Kim


Previous:
Brush Hill House: Island Search!
Next:
Devine Color!

Comments

  1. Michelle @ Ten June says

    July 9, 2013 at 12:46 am

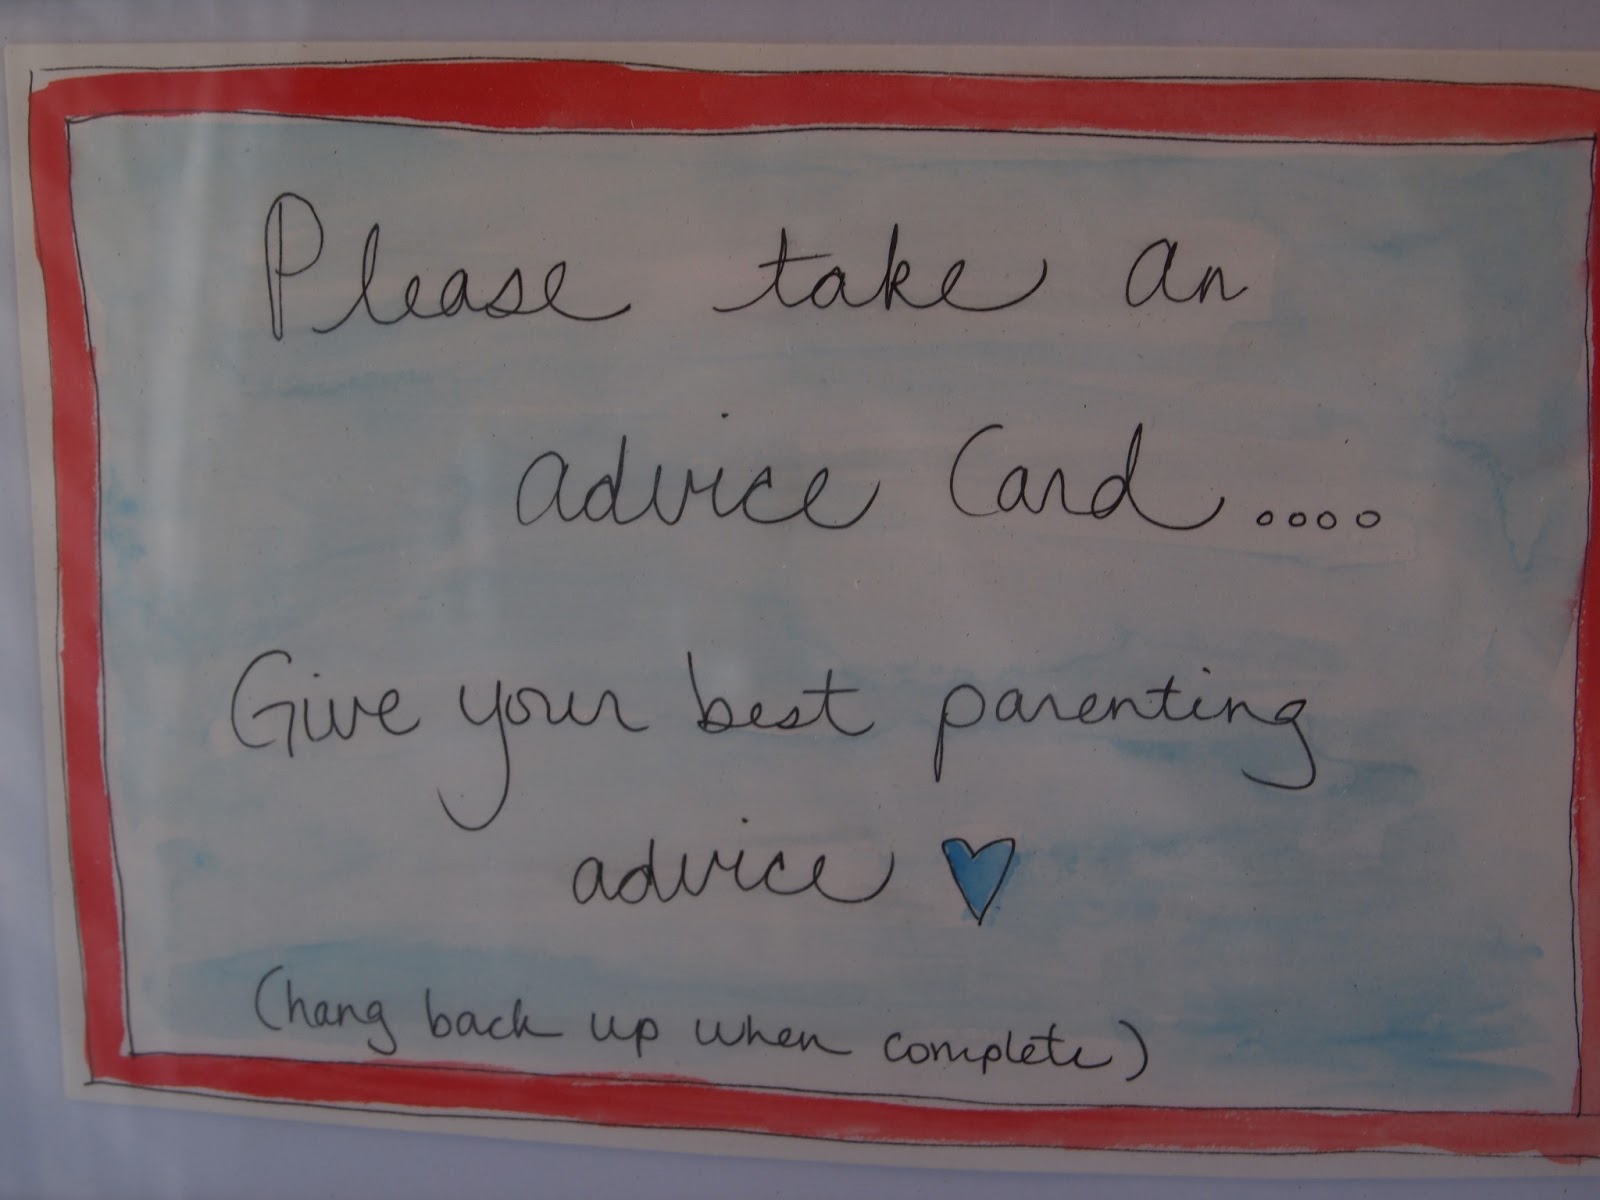
    This is an adorable baby shower! I can’t believe you threw it together so quickly… seriously adorable. And I literally cannot believe you painted those advice cards yourself. Amazeballs.

    Reply
  2. Kim Salter says

    July 10, 2013 at 3:47 am

    Thank you Michelle! It was so fun!

    Reply

Leave a Reply Cancel reply

Your email address will not be published. Required fields are marked *


About Me

Hello

Welcome to Design THOUGHTS studio! This space is created to help guide you to your most aligned self! Look around and let me know if you have any questions. kim@designTHOUGHTSstudio.com

Let’s Connect

Archives

Categories

Design by SkyandStars.co
Back Top

Copyright © 2026